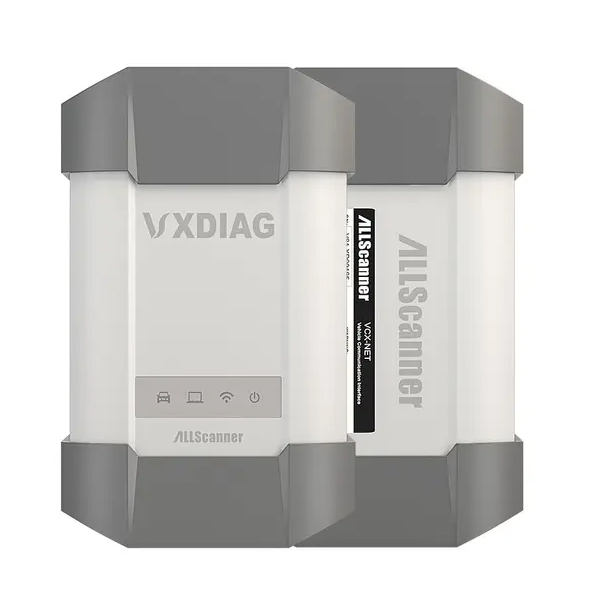
The VCX device is adapted to OEM diagnostic software through diagnostic drivers. Once the drivers are installed, the VCX can be recognized by the software and enable OEM diagnostic functions.
1. Requirements for Installing Diagnostic Drivers:
- The OEM diagnostic software must already be installed.
- The VCX device must have a valid functional authorization.
- The VCX device must be connected to the computer and have internet access.
2. Software Installation Requirements
- Processor: 1.6 GHz or faster.
- Memory: DDR 4GB or higher.
- Hard Drive: 80GB or more.
- Network Interface: LAN 100/1000M.
- Communication Interface: USB2.0 or USB3.0.
- Wireless Network: 802.11a/b/g/n WiFi.
- Operating System: Windows 10 / 8 / 7.
- Browser: Internet Explorer 11 or later.
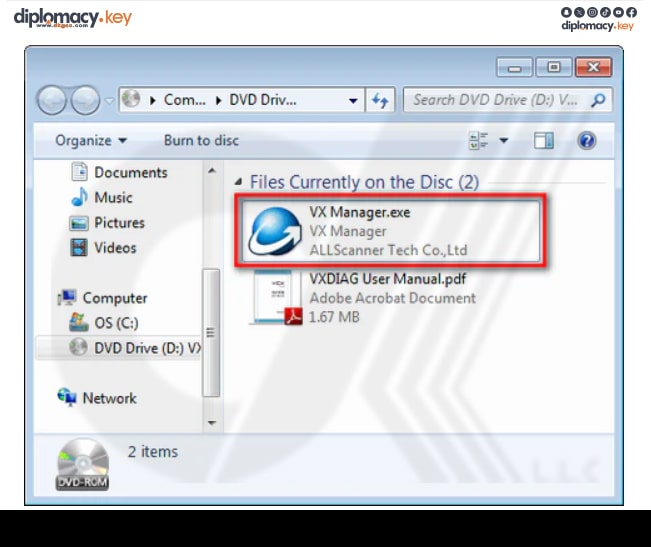
Download Links :
Software Installation Steps V1.8.9.0601 :
Run the Installer Double-click to run the VX Manager installer.
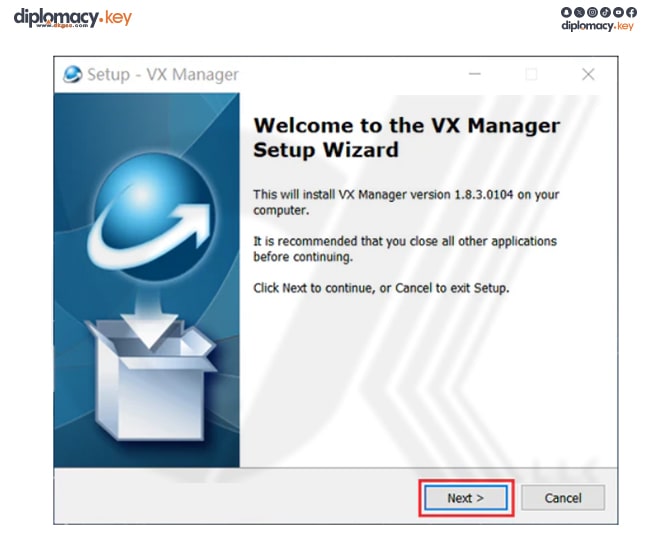
Begin Installation On the welcome screen, click "Next" to continue.
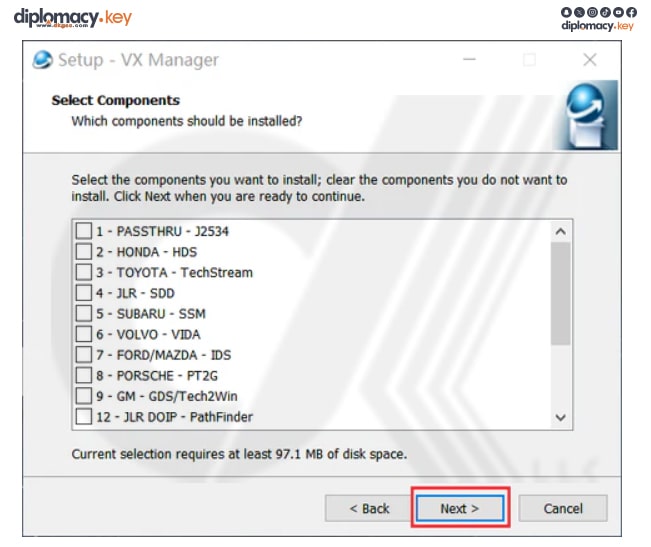
Select Installation Components During this step, you can select the OEM diagnostic drivers you wish to install, or you can use VX Manager after installation to freely install the required OEM drivers.
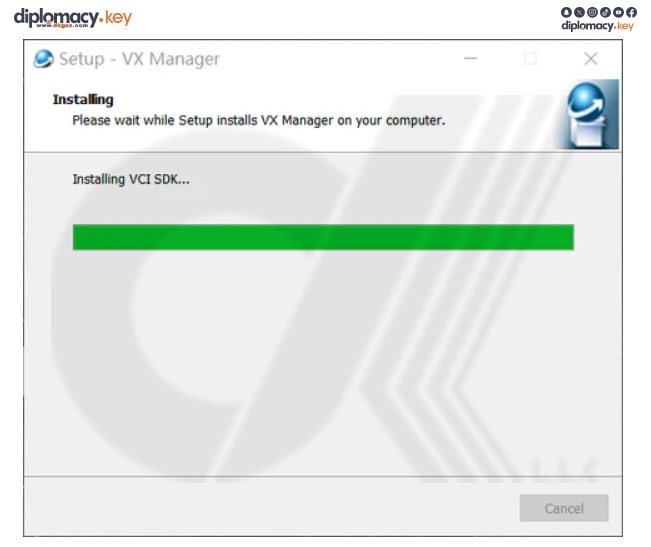
Installation in Progress The installation process may take several minutes. Please be patient.
Installation Complete On the installation completion screen, click "Finish" to complete the process.
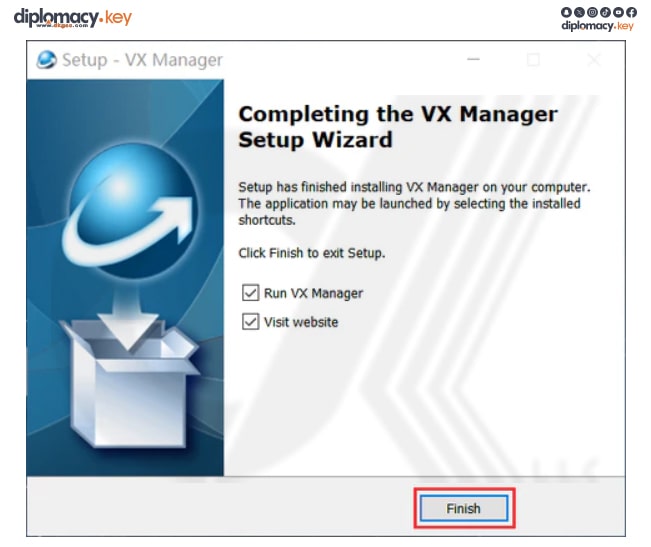
After installation, a VX Manager shortcut will be created on the desktop and in the Start menu.
When you launch the VX Manager software, the [Device Management] screen will display the basic information of the device:

| Basic Functions | Description |
|---|---|
| ReConnect | To establish a connection with the device |
| Firmware | Upgrade device firmware from server |
| License | Update device license from server |
| Restart | Reset device and start to run |
| Self Test | Run device test program and report |
| HW Test | Device LED flashing and buzzer beep |